> ## Documentation Index
> Fetch the complete documentation index at: https://docs.daven.ai/llms.txt
> Use this file to discover all available pages before exploring further.
# Cine Lighting
**🎬 Daven AI – Cine Lighting usage guide**
**You can find the app here.** [https://daven.ai/apps](https://daven.ai/apps)
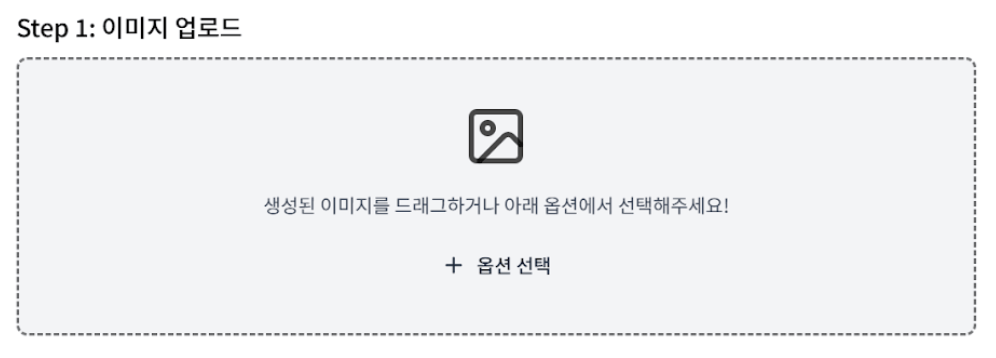
## Step 1. Upload reference image
* Upload the image you want to apply lighting to.
* You can drag a generated image or load it via the \[Select option] button.
 ## Step 2. Output settings
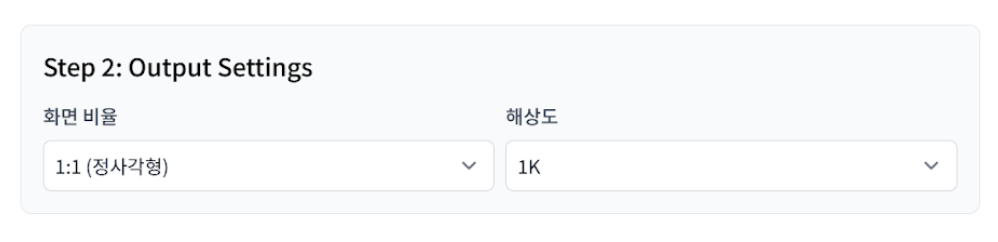
* Choose aspect ratio (e.g. 1:1, 16:9).
* Choose resolution (e.g. 1K, 2K).
* This determines the final frame and quality.
## Step 2. Output settings
* Choose aspect ratio (e.g. 1:1, 16:9).
* Choose resolution (e.g. 1K, 2K).
* This determines the final frame and quality.
 ## Step 3. Multi-Light System
* You can add up to 3 lights with the L1, L2, L3 buttons.
* Each light can be configured separately.
### **📍 Setting light position**
You can quickly choose from 6 preset positions:
* TOP / BOTTOM / LEFT / RIGHT / FRONT / BACK
For finer control:
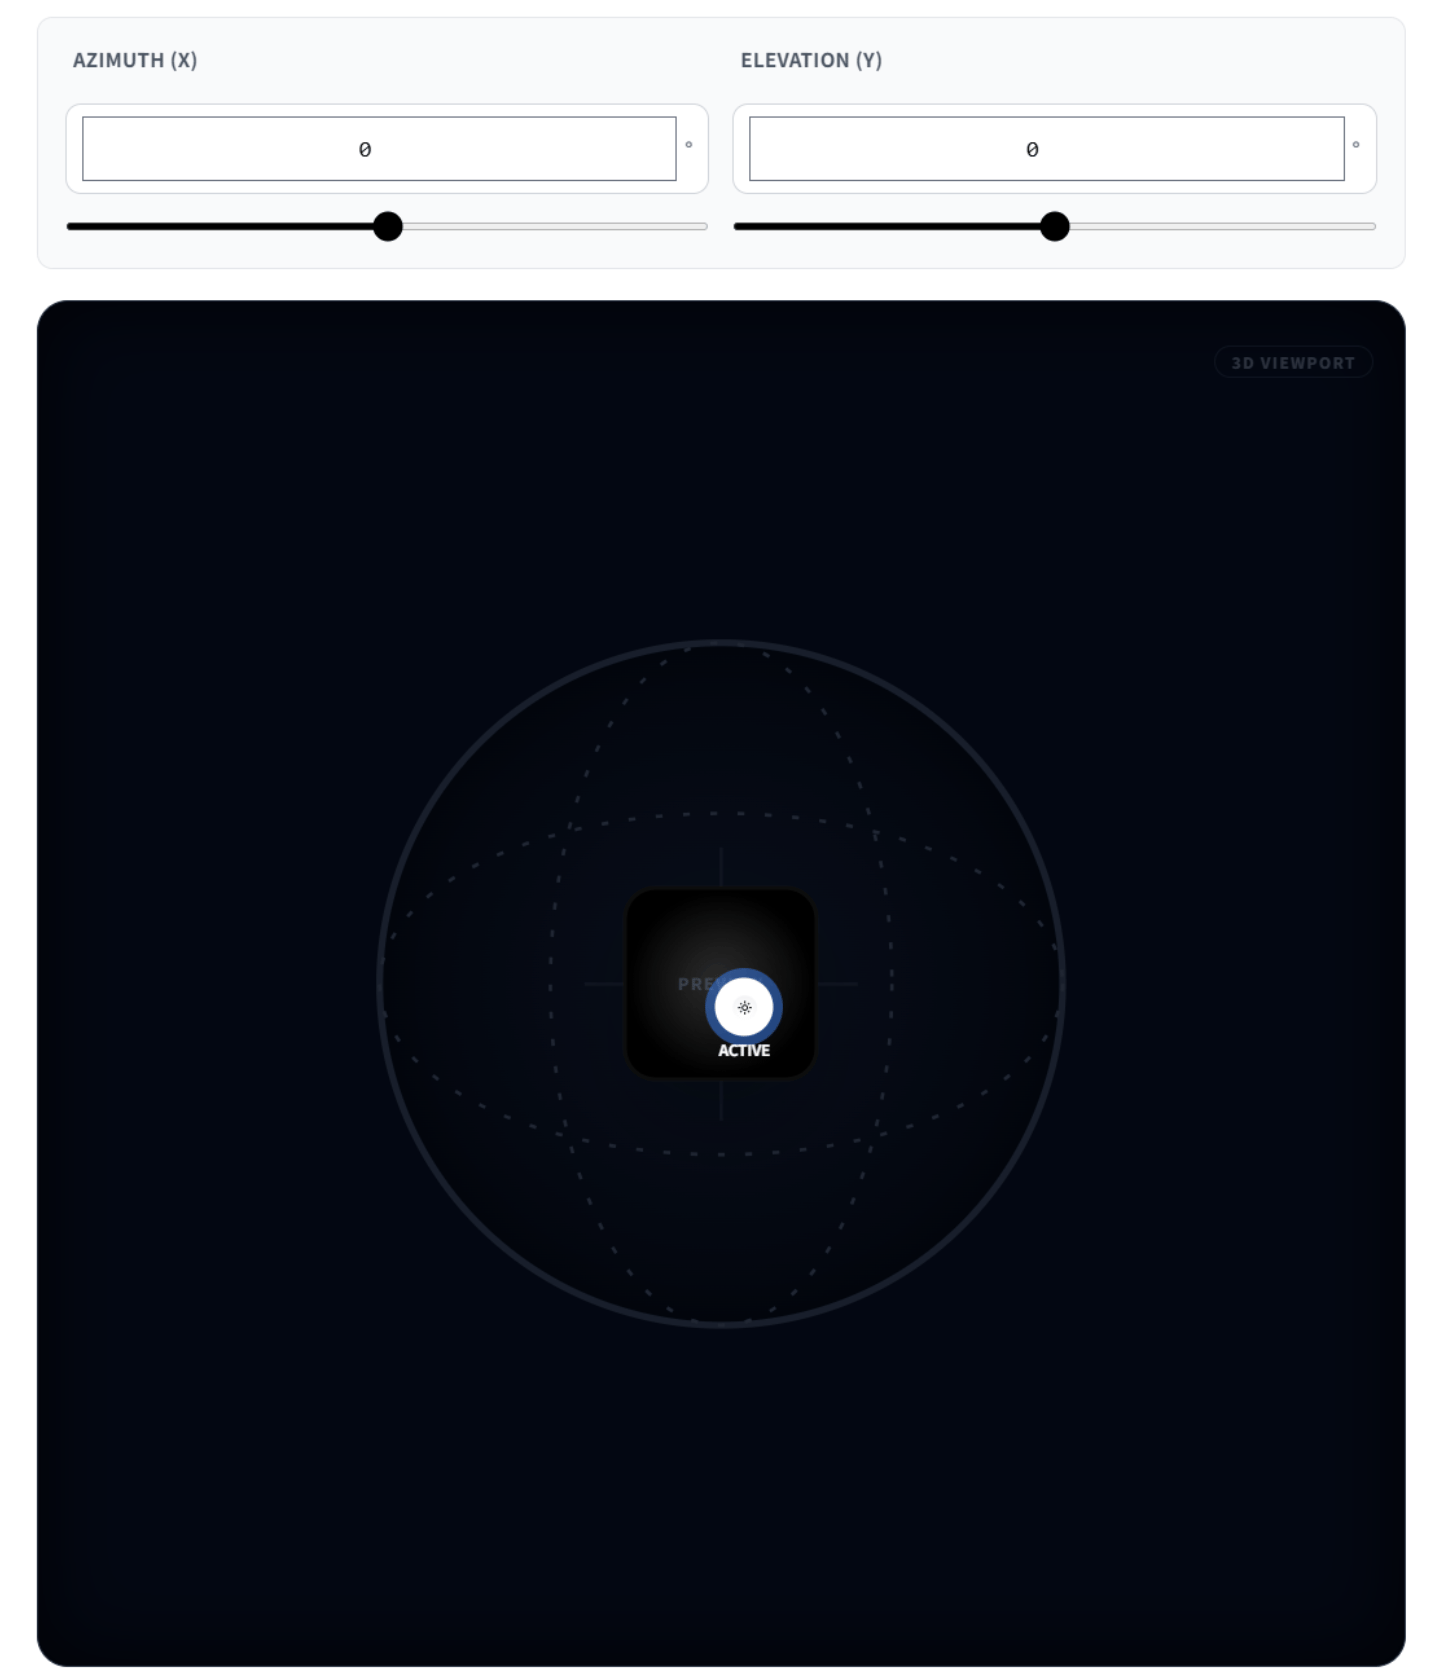
* In each light tab, use the spherical (3D) simulation view
* to set the light direction as you want.
* Azimuth (X) and Elevation (Y) sliders allow fine angle adjustment.
## Step 3. Multi-Light System
* You can add up to 3 lights with the L1, L2, L3 buttons.
* Each light can be configured separately.
### **📍 Setting light position**
You can quickly choose from 6 preset positions:
* TOP / BOTTOM / LEFT / RIGHT / FRONT / BACK
For finer control:
* In each light tab, use the spherical (3D) simulation view
* to set the light direction as you want.
* Azimuth (X) and Elevation (Y) sliders allow fine angle adjustment.
 ## Step 4. Choose lighting style
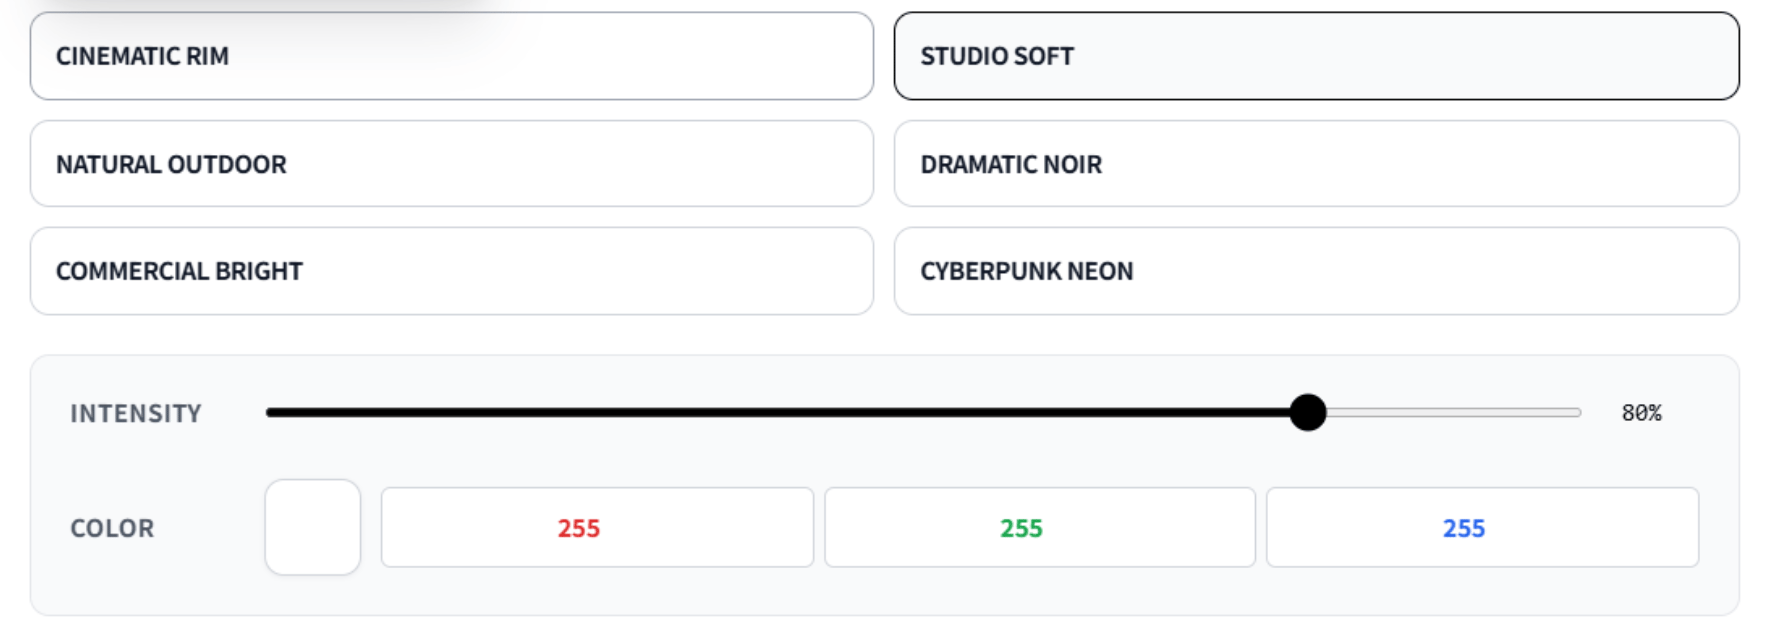
Choose the mood from these 6 lighting presets:
* Cinematic Rim
* Studio Soft
* Natural Outdoor
* Dramatic Noir
* Commercial Bright
* Cyberpunk Neon
※ Hover over each option to see a description of that lighting style.
## Step 5. Brightness & color
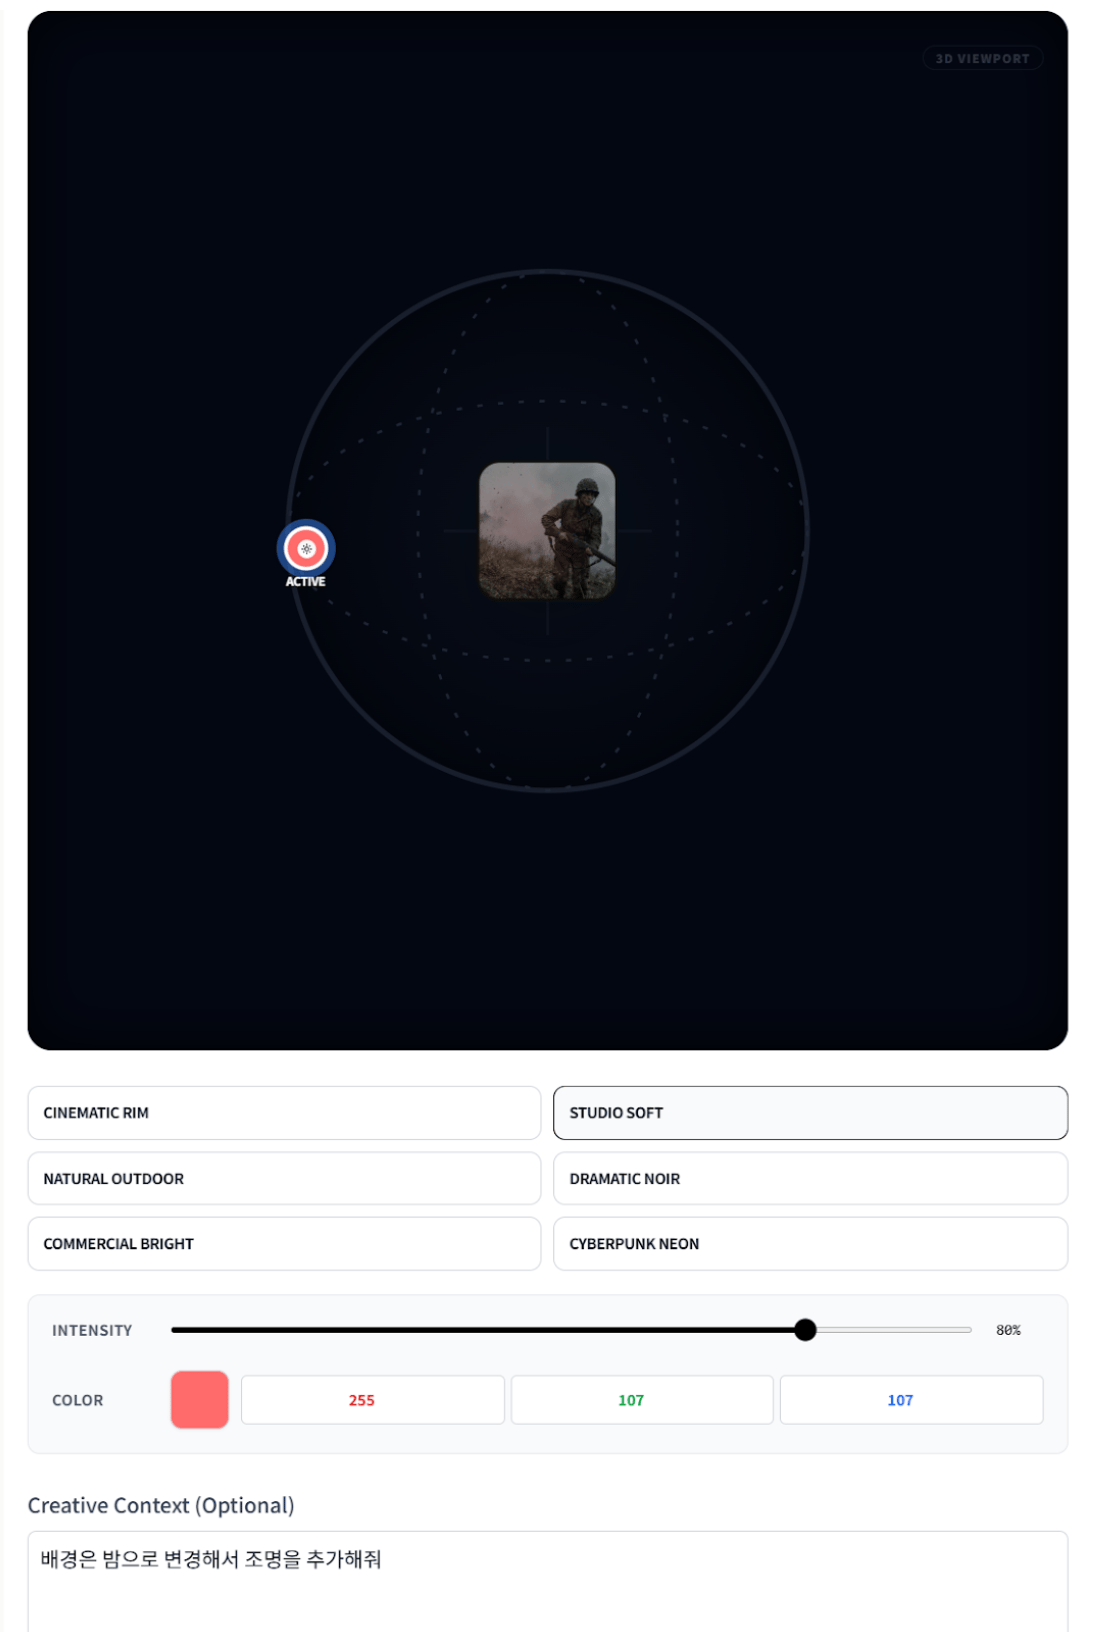
* **Intensity** slider: Adjust light brightness (strength).
* **Color** palette / RGB:
* Pick the light color directly or
* Set an exact color with RGB values.
## Step 4. Choose lighting style
Choose the mood from these 6 lighting presets:
* Cinematic Rim
* Studio Soft
* Natural Outdoor
* Dramatic Noir
* Commercial Bright
* Cyberpunk Neon
※ Hover over each option to see a description of that lighting style.
## Step 5. Brightness & color
* **Intensity** slider: Adjust light brightness (strength).
* **Color** palette / RGB:
* Pick the light color directly or
* Set an exact color with RGB values.
 ***
## Step 6. Add text (optional)
* You can add a text prompt to
* give more specific direction for mood or style.
* If you leave the text empty:
* only the lighting effect is applied to the image.
## Step 7. Generate
* When you're done, click \[Generate].
* 👉 The final image with lighting is generated automatically.
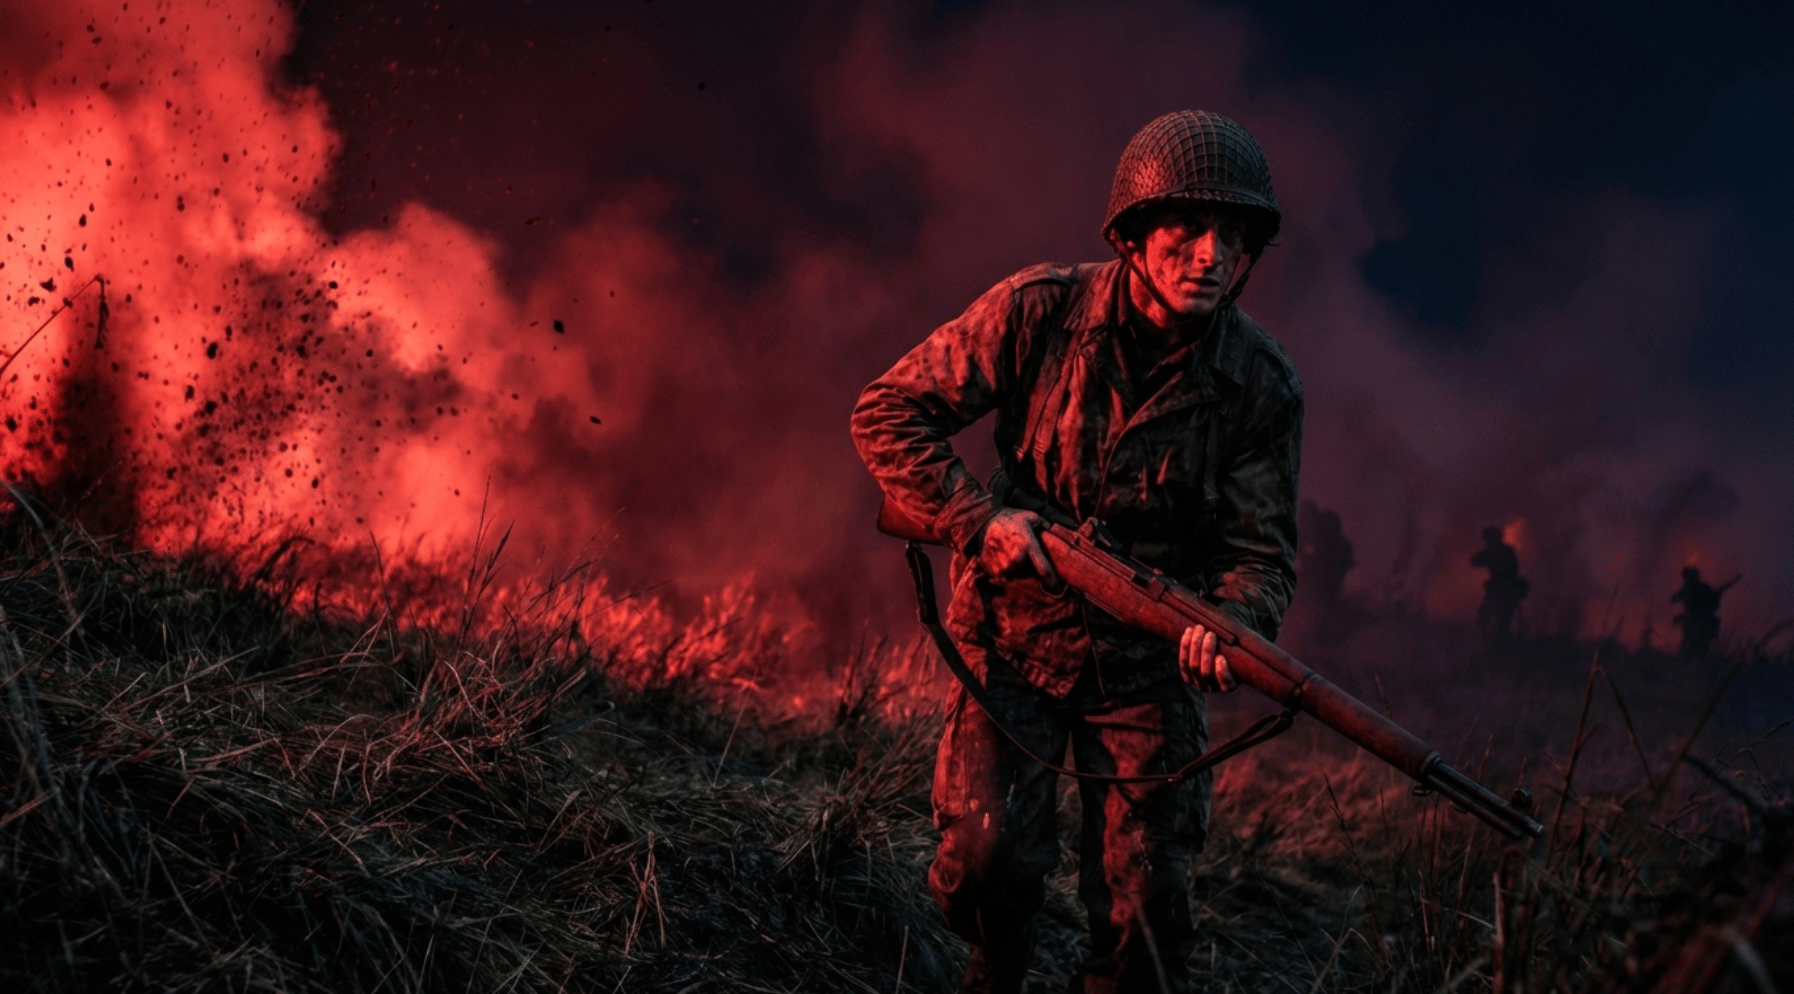
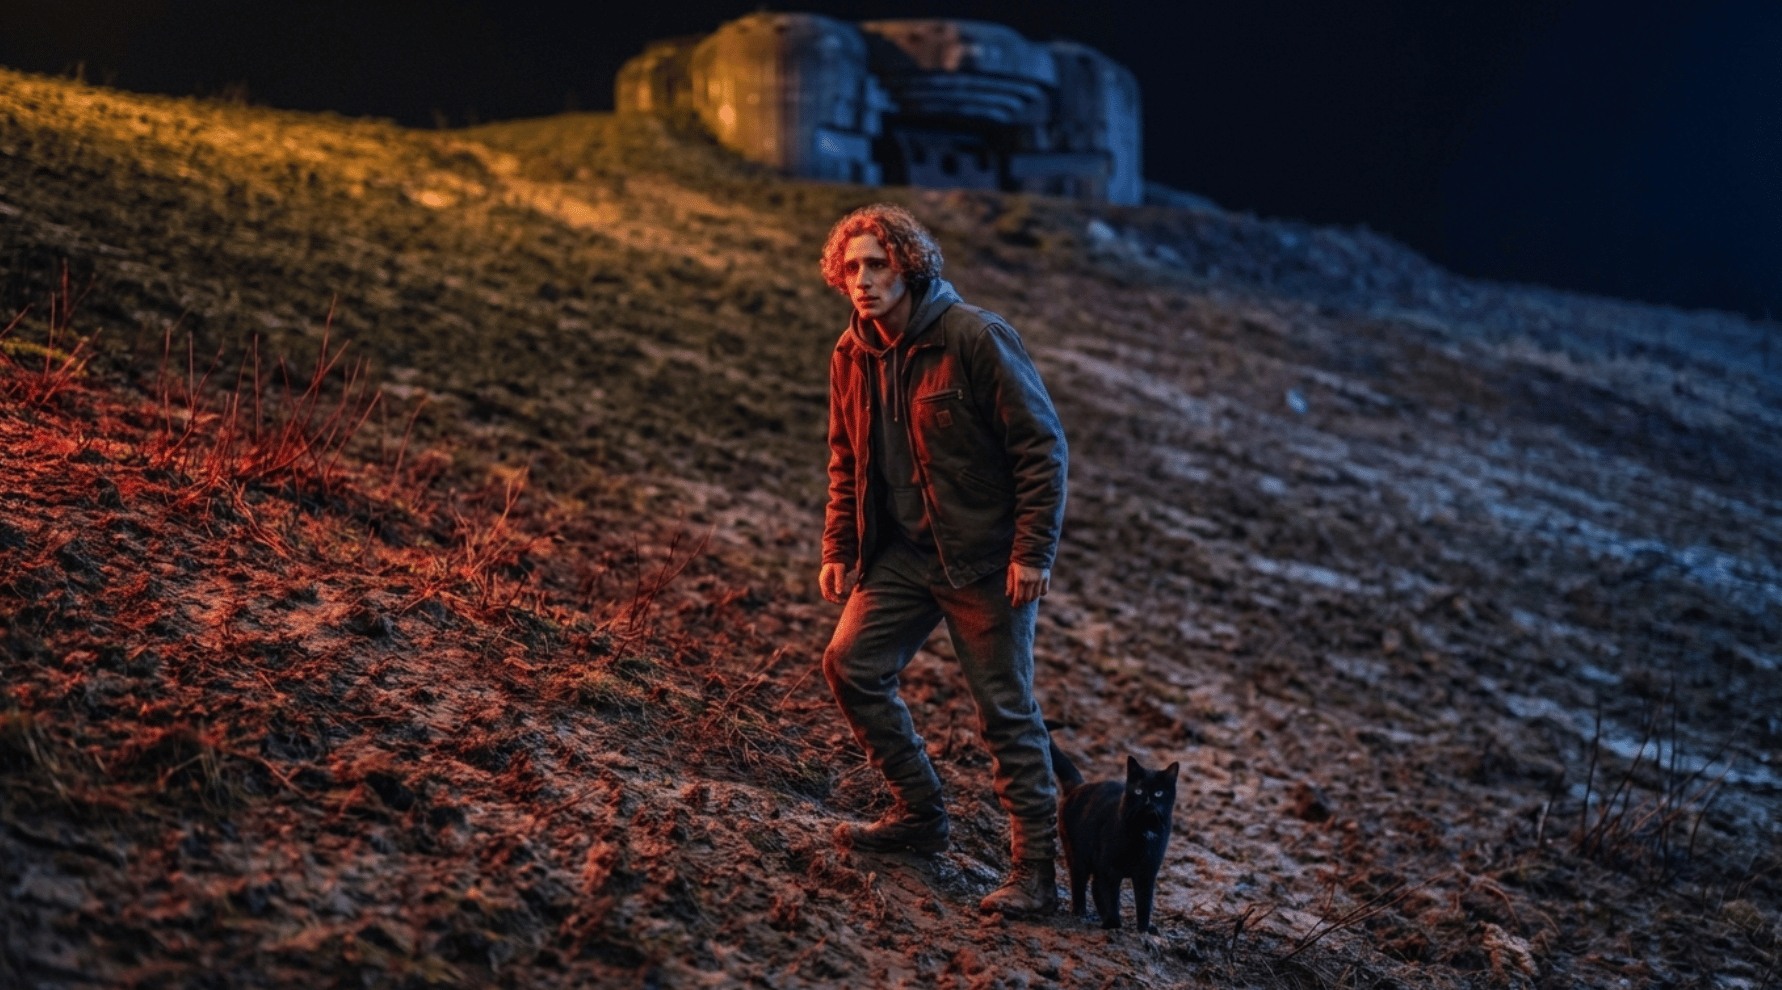
**Scene with one red light added on the left**
***
## Step 6. Add text (optional)
* You can add a text prompt to
* give more specific direction for mood or style.
* If you leave the text empty:
* only the lighting effect is applied to the image.
## Step 7. Generate
* When you're done, click \[Generate].
* 👉 The final image with lighting is generated automatically.
**Scene with one red light added on the left**
 **Settings view**
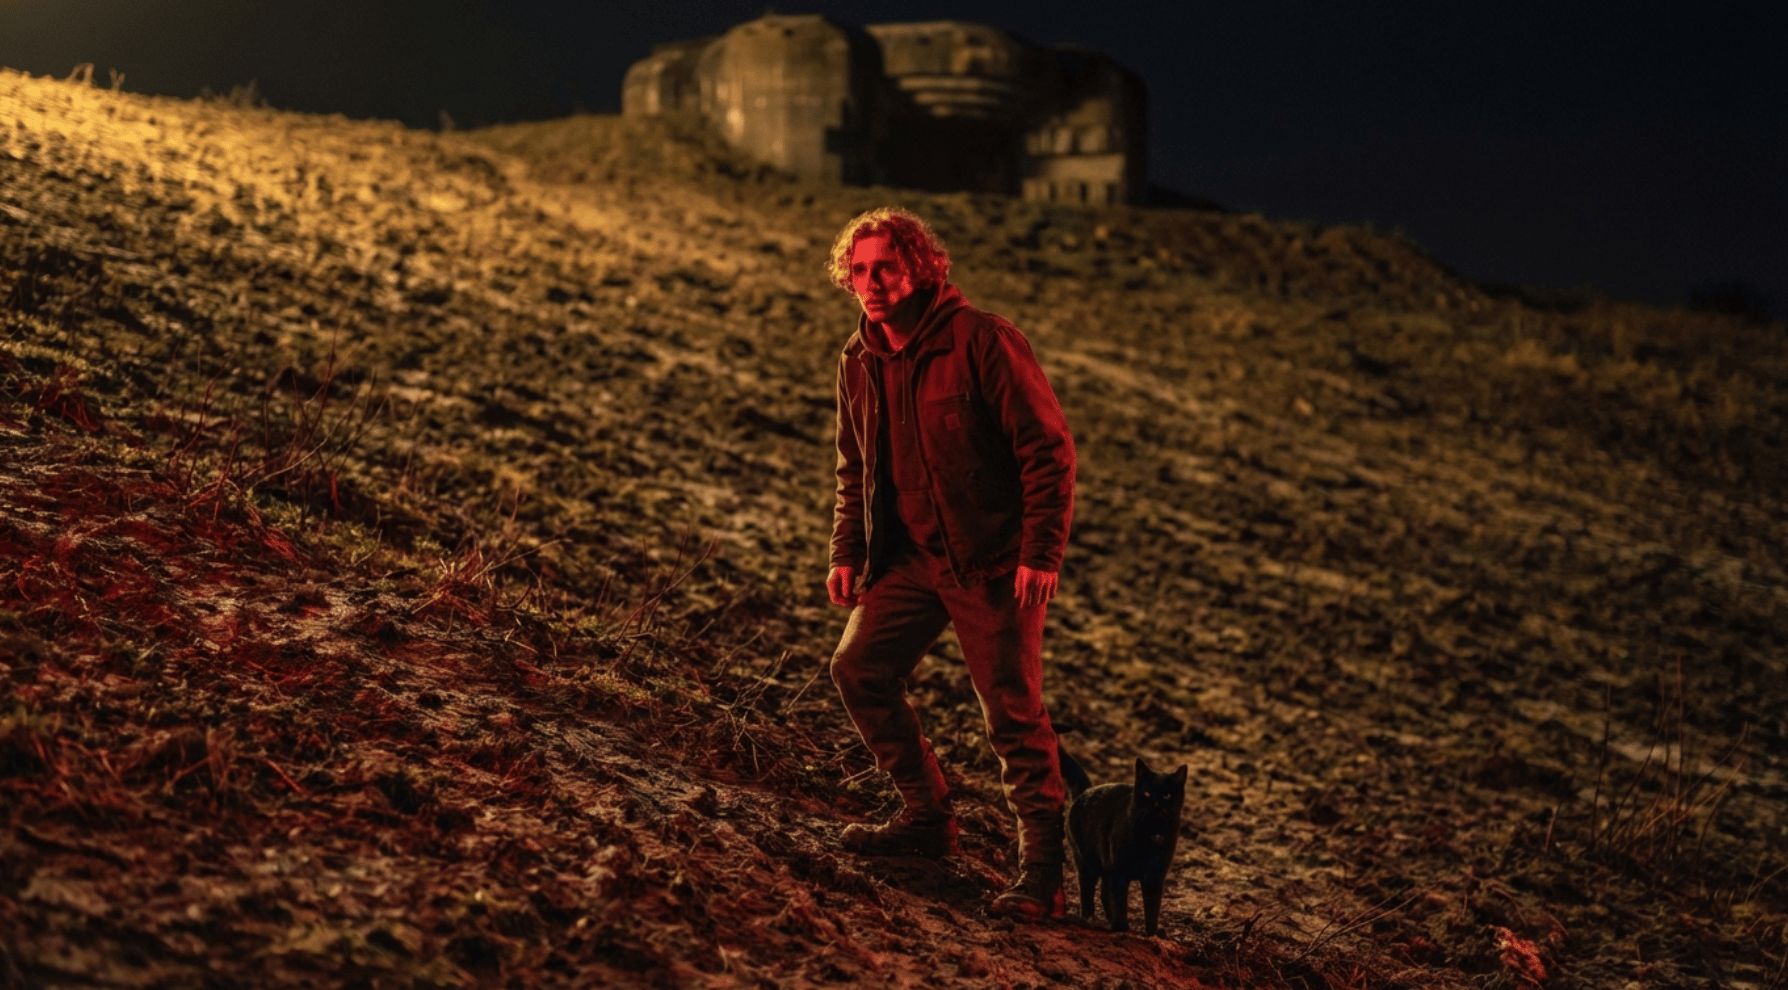
 **Scene with red and yellow lights on the left and top**
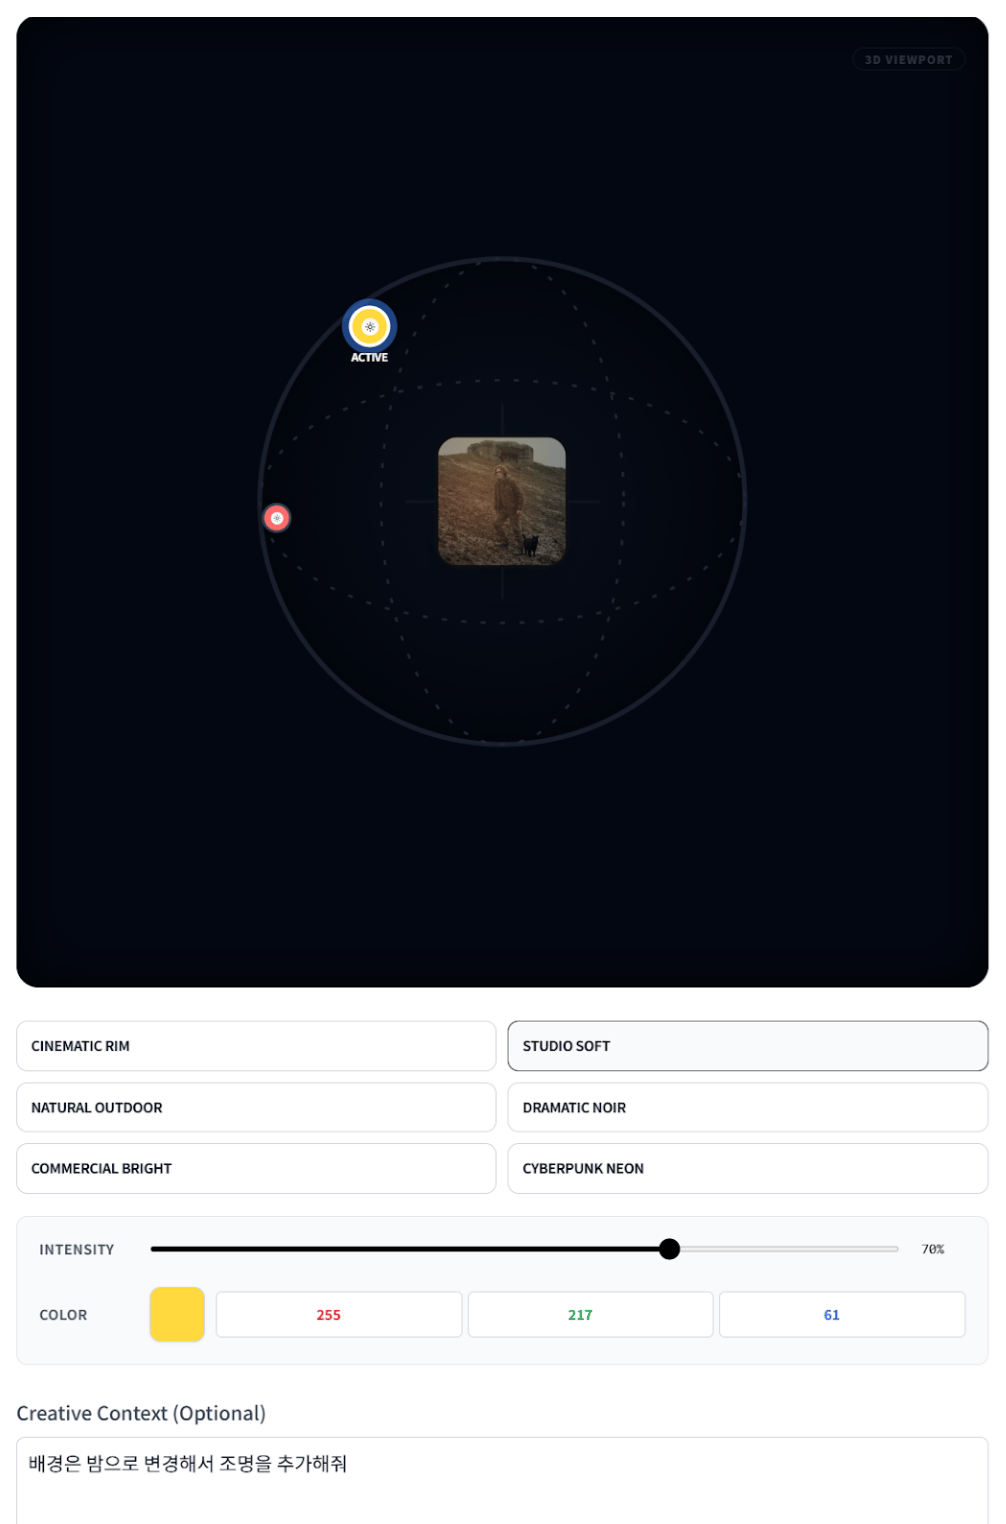 Settings view
**Scene with red, yellow, and blue lights—two on the left, one on the top right**
Settings view
**Scene with red, yellow, and blue lights—two on the left, one on the top right**
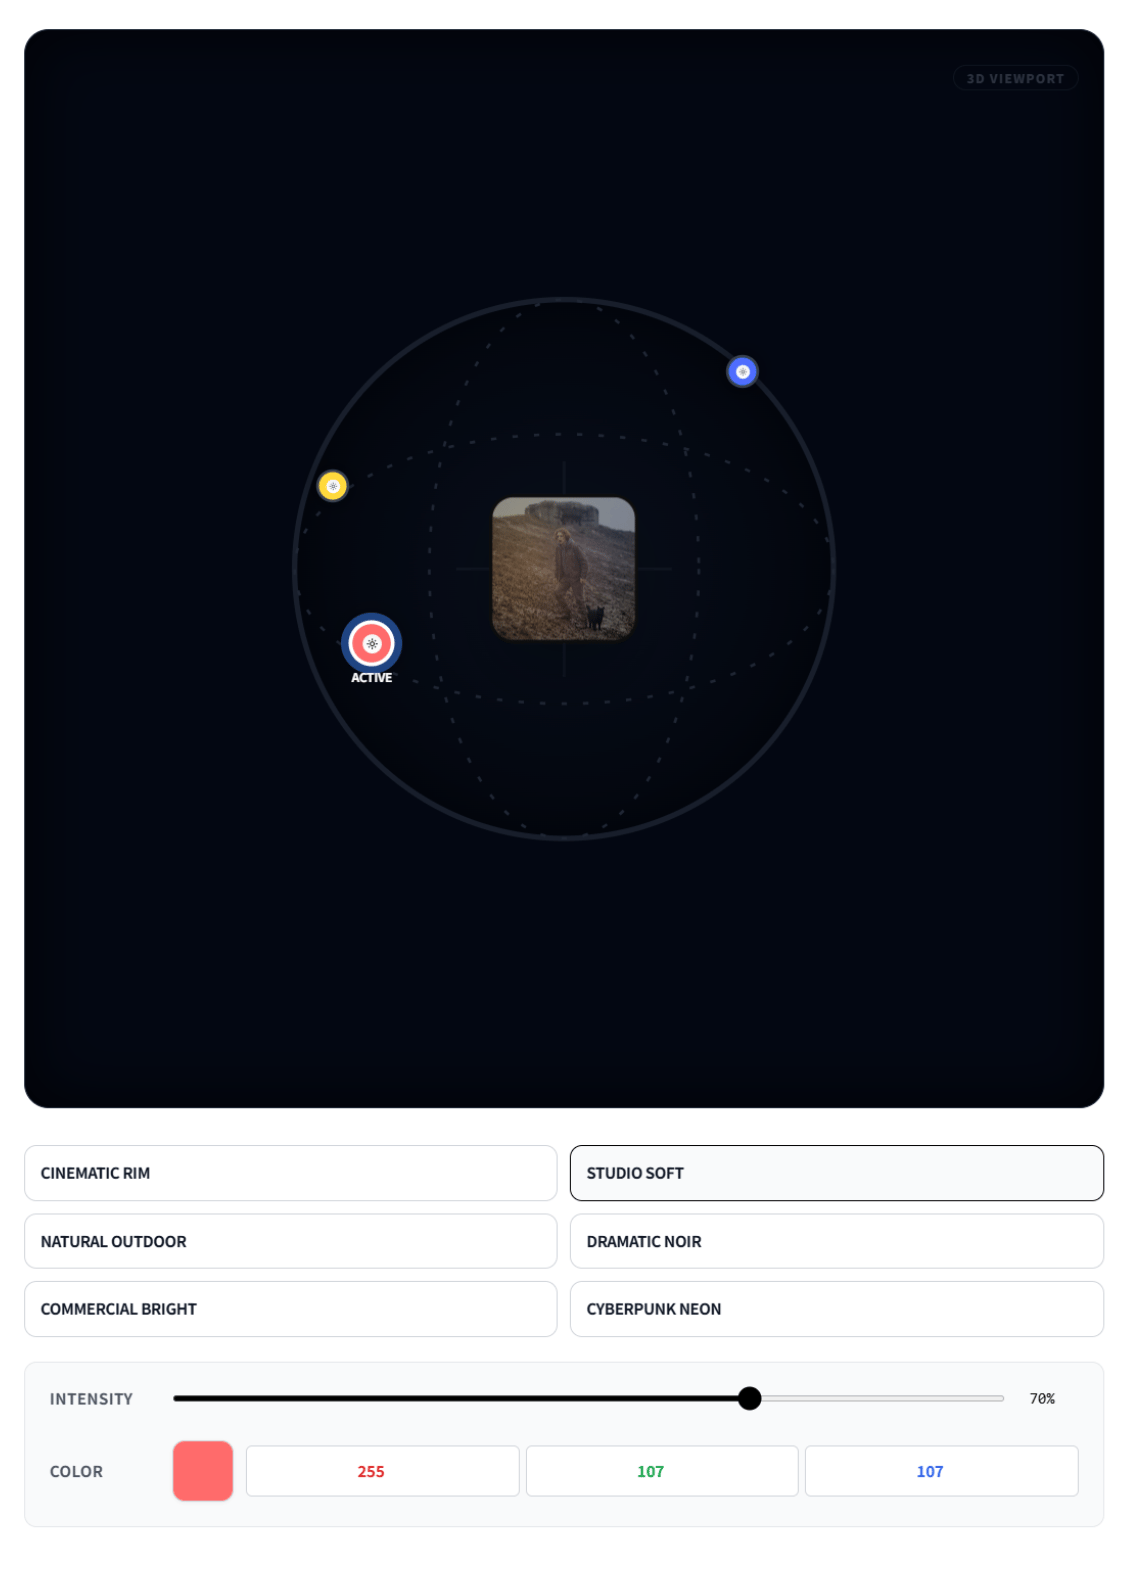 Settings view